If you’re like me and have been working on the same project for over a year, and then suddenly you get ‘beachballs’ by scrubbing the timeline, then this article is your salvation. I spent days scouring the Internet for fixes on FCPX beachball fixes and tried one after the other – nothing worked. It was not an option to lose a years worth of work, so I had to solve this constant ‘beachball’.
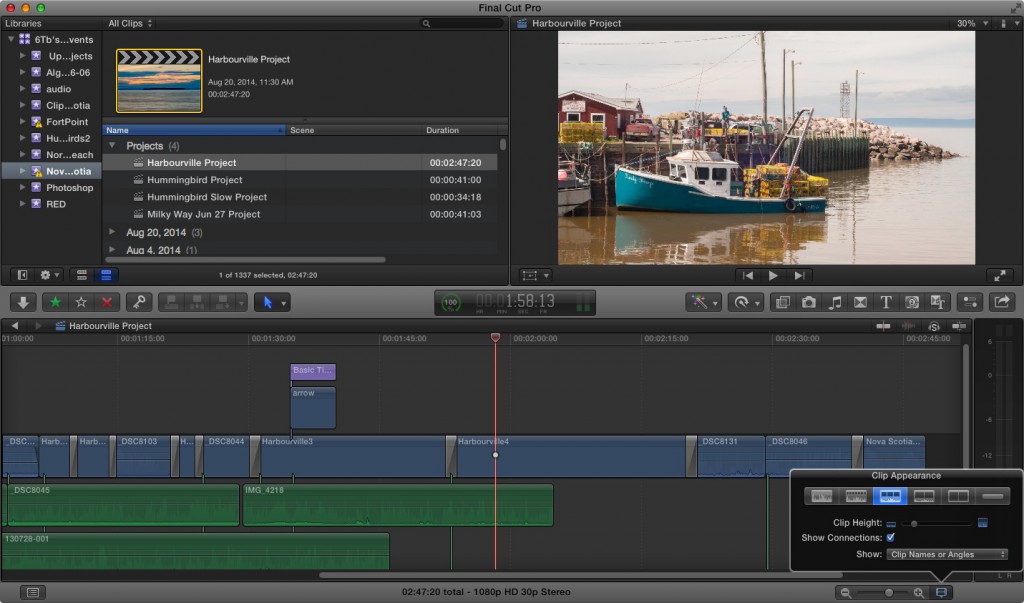
I was able to get the project more stable by switching to audio only previews (i.e far left or far right options), but as soon as I switched back to get a video preview, beachball hell. Force Quit was the only option.
A good place to start troubleshooting Final Cut Pro X for tips is FCPX.tv but these are just preliminary things to check, not how to solve the corruption issue.
Getting down to business, here’s what you need to try. These are from easiest to do, to the most complex in order, so I suggest doing the simple things first as that might just work for you. These instruction are for when (cmd-c) copy and paste into a new Library doesn’t work…
1). delete Final Cut Pro X preferences. From the Finder menu Go, Go to Folder, then delete files: com.apple.FinalCut.LSSharedFileList.plist, com.apple.FinalCut.plist, and com.apple.FinalCut.UserDestinations.plist
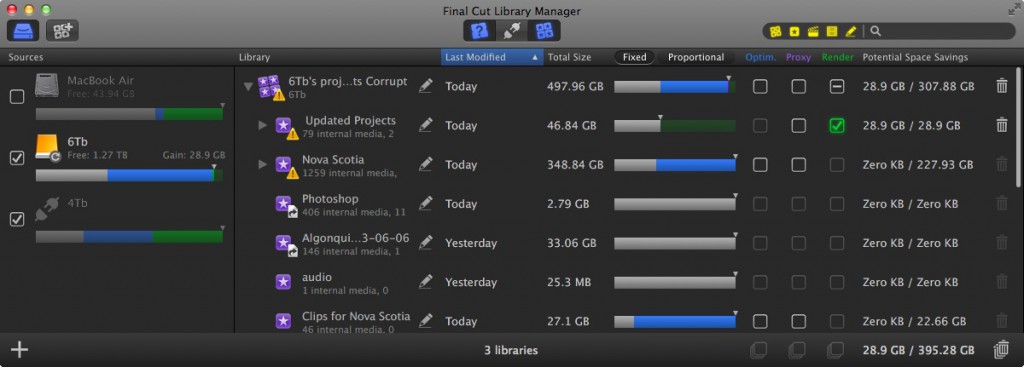
2). rebuild RENDER files. This can be done a couple of ways. The easiest way is to use a program like Final Cut Library Manager to delete your Libraries’ RENDER files.
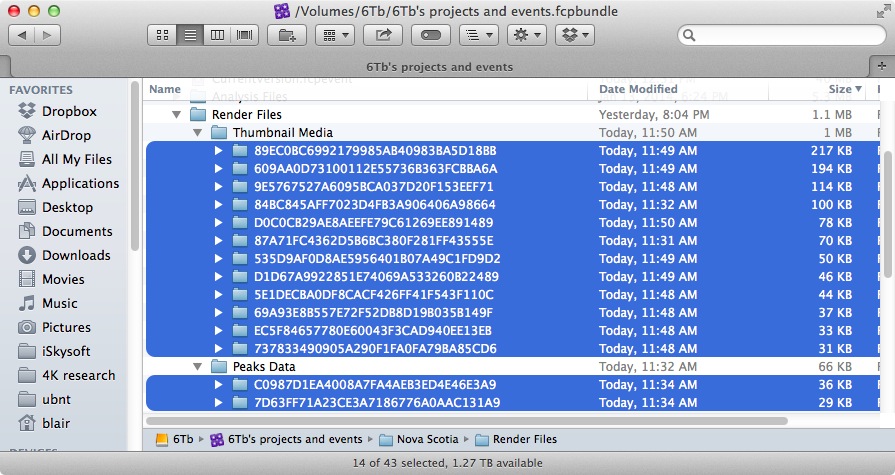
You can also manually accomplish the same effect by going into your project file as follows: right click your Final Cut Project and select Show Package Contents
Delete all content in the Thumbnail Media and Peaks Data folders located in the Render Files folder.
When you launch Final Cut the next time, these render files will be recreated for you automatically.
3). delete the CurrentVersion.flexolibrary database file inside your project. This will be rebuilt the next time you open your project.
Other posts on the Internet will say to use Proxy files to give stability, etc. Using proxy files just masks the corrupted project file to speed up your work but doesn’t properly solve the issue.
If you still can’t scrub through your project without ‘beachballs’, then most likely your project is indeed corrupted. The CreativeCow forums offers a hint on how to fix a corrupted project, but the steps listed are not clear and may lead to further crashing of Final Cut.
Here’s the STEP BY STEP how to fix a corrupted Final Cut project:
1) Close the project that is corrupted and make sure it is highlighted in the Project Library.
Go to File/Export XML and save the XML file of the project.
(i.e projectname.fcpxml )
2) Create an entirely new library, and Re-import that fcpXMP project file, generating a new project. Close and Restart the Final Cut Pro X application. CreativeCow forums mention to create a new project, but that’s not correct. You MUST create a new Library and import the project XML into that new Library or you will crash Final Cut on the import.
3) Stay away from the LIBRARY containing the corrupted project timeline.
4) Open the newly project created via the XML import. Everything should be there and working fine.
Fixing Project from Final Cut Backup
A Final Cut User from Vancouver B.C. sent in a corrupted project to examine, but the above procedures did NOT resolve his project issue.
I will demonstrate the procedure I used to resolve his issue as follows. Here, I will restore a final cut backup called Bluenose, and save the project as RED intro recovered. You will see how the media is missing, but can be easily Re-Linked to fix the corrupted project.
1 – Save media from corrupted project. Right-click on the corrupt project Bluenose and show pkg contents.
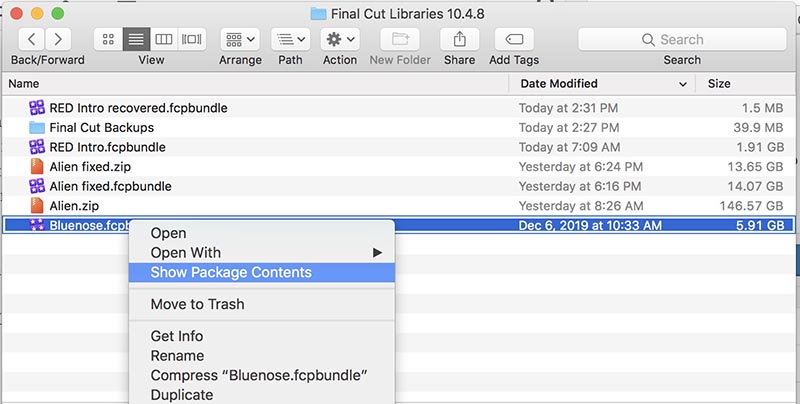 Locate the Original Media folder and copy the contents of Original Media folder from the corrupted Bluenose project and place it in a folder named Media.
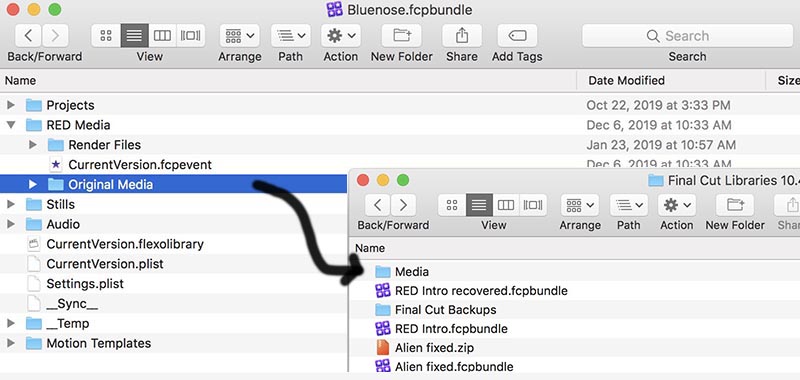
Then open the latest dated backup file from the folder, in this case it’s called Bluenose 1 using Final Cut.
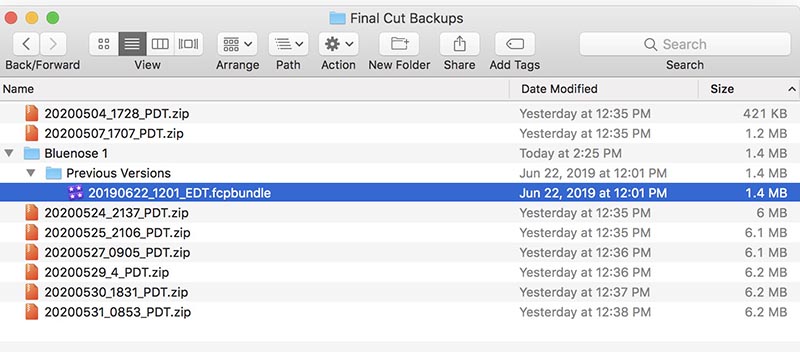
Final Cut Backups are typically found in this location: /Users/yourusername/Movies/Final Cut Backups
Now, save this project as a new Project name, we call ours RED intro recovered.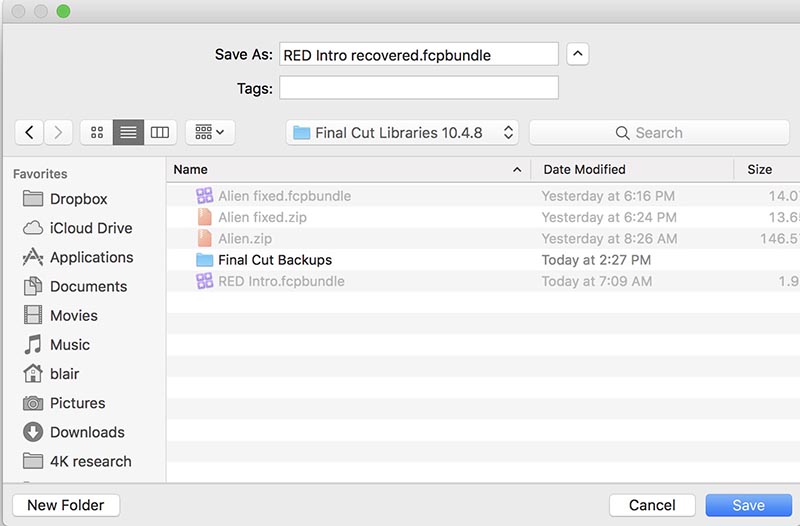
Now, quit Final Cut and re-open this project. You will notice the Project is missing all the media.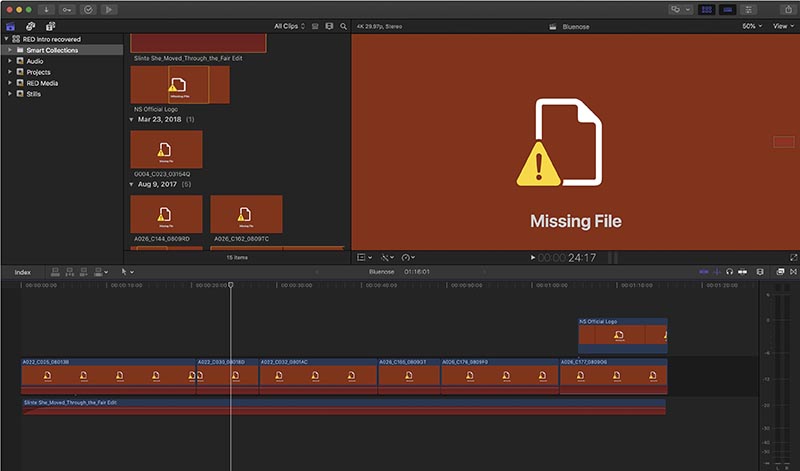
We relink the media using the FCPX menu item FILE, Relink Files option.
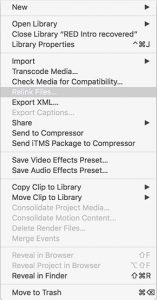
Then select the Locate All.. button and navigate to where your media is stored …
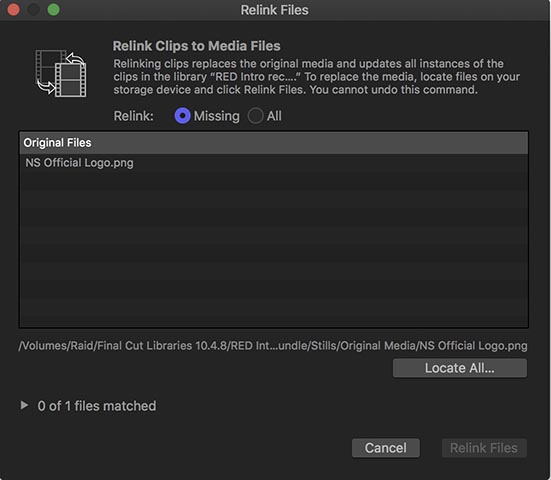
and select CHOOSE, as shown below.
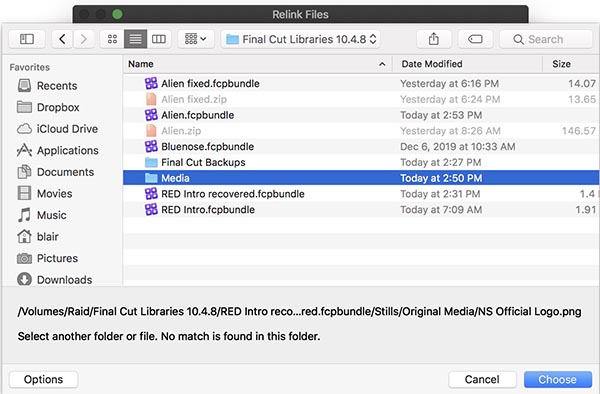 Your project should now be fixed.
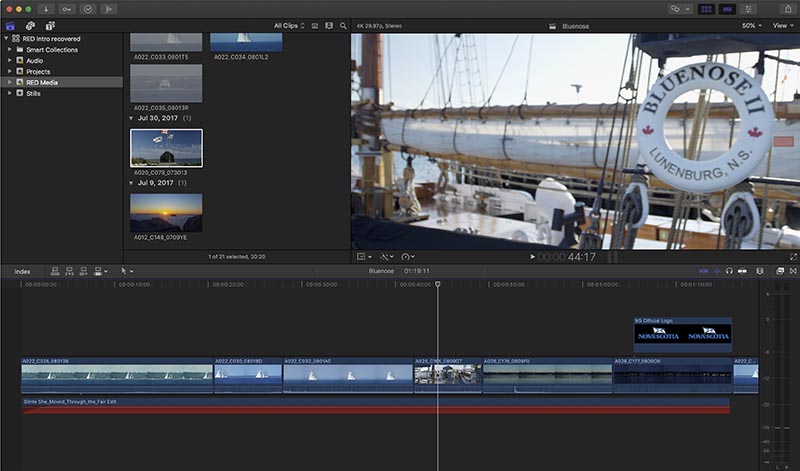 Thanks to Justin for inspiring this Update 🙂


